Breathedge 2 Depot Guide: Service Warmers & 100% Heat
Breathedge 2 Station Depot guide: Cold Protection gate, five Service Warmers, ambient heat steps to 100%, Foreman area, and Small Engine research.
FAQ
Why is my Depot ambient temperature stuck below 100%?
Can I explore the Depot before Cold Protection 100?
How many Service Warmers are in the Depot?
What do the Foreman and Small Engine research do?
The Station Depot is the second major beat of Breathedge 2 Chapter 1 — a frozen industrial yard you reach after the New Coordinates chain in the Outskirts walkthrough. Two gates block progress: Cold Protection 100 on your suit, then Raise Ambient Temperature to 100% by repairing Service Warmers one at a time. This page walks the full warmer route, the Foreman detour, and the Small Engine research node so you do not burn oxygen on dead-end loops.
What is the Station Depot in Chapter 1?
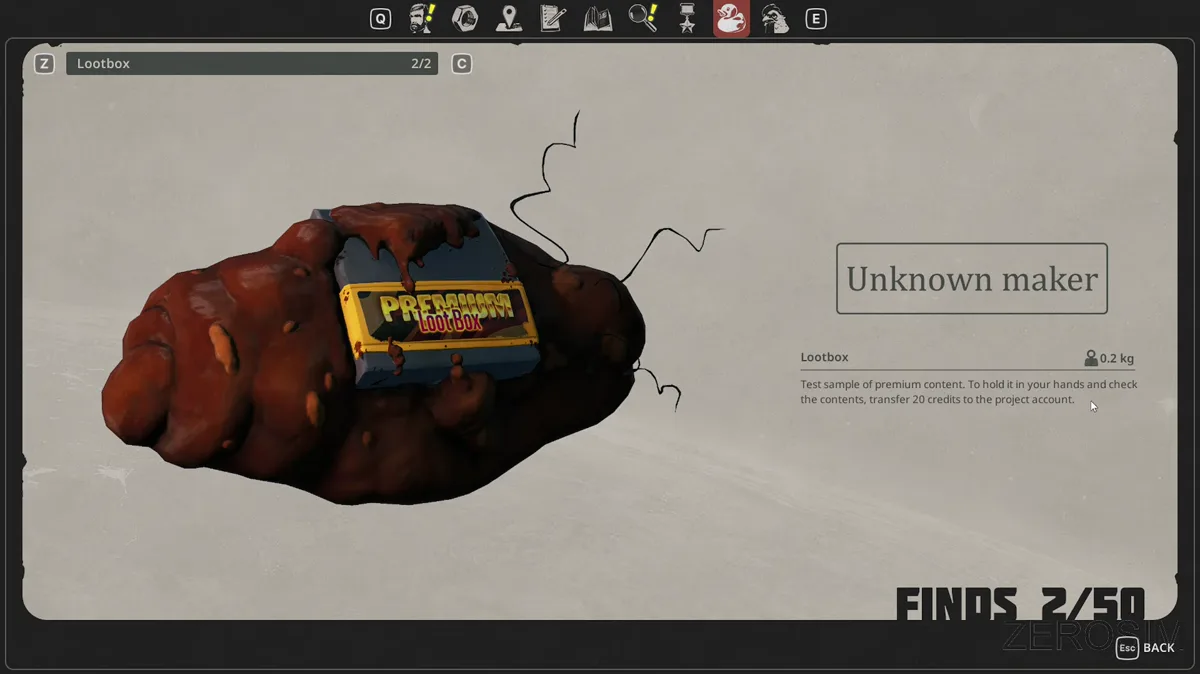
After the Three Antennas objective resolves into New Coordinates, the quest line sends you to the DEPOT — a colder, denser station cluster than the Outskirts suburb. Community playthroughs on the Early Access launch build describe it as abandoned infrastructure wrapped in ice, with portable Service Warmers scattered through the structures.
The Depot sits between Outskirts scavenging and the later signal jammer trail. For macro orientation, cross-check quest flags against the all-locations map index.
How do Service Warmers raise ambient temperature?
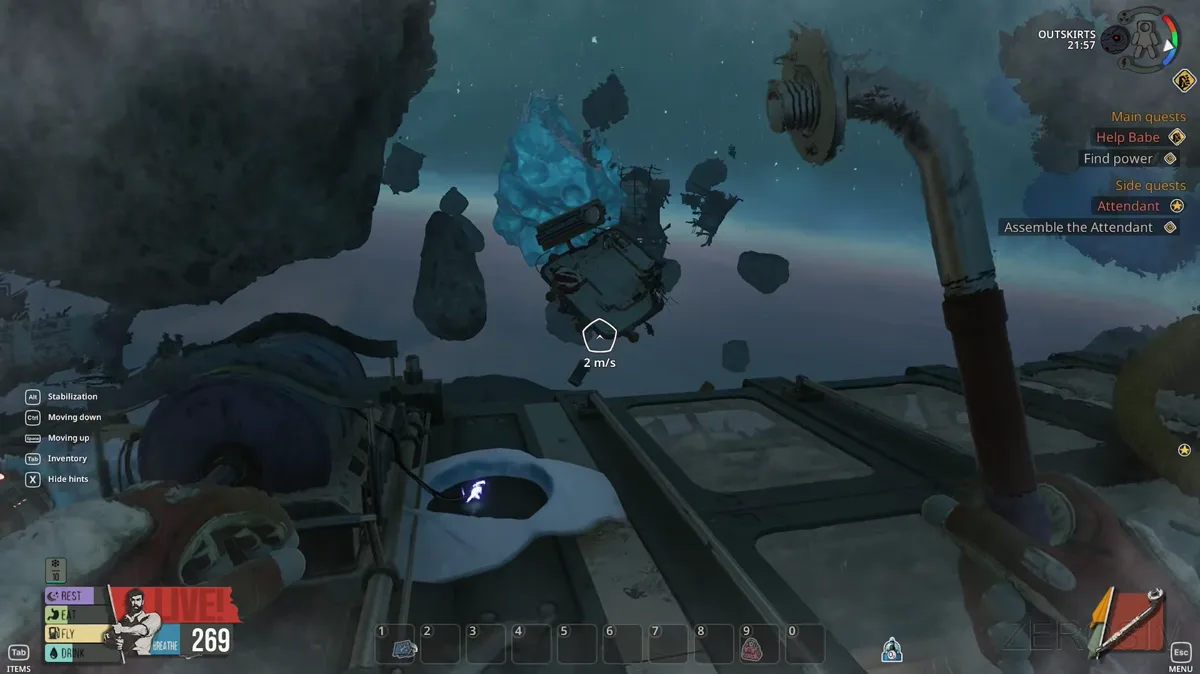
Service Warmers are deployable heat sources embedded in the Depot layout. Each one you bring online adds a fixed chunk to the ambient temperature percentage tracked by the Chapter 1 objective.
Verified step ladder on the 2026-08-31 build:
| Warmer repaired (cumulative) | Ambient temperature |
|---|---|
| 1 | 17% |
| 2 | 34% |
| 3 | 61% |
| 4 | 78% |
| 5 | 100% |
The meter does not climb smoothly between those numbers. If you sit at 61% for ten minutes, you have not broken the quest — you simply have not reached warmer #4 yet.
Step-by-step warmer route
- Enter the Depot with Cold Protection ≥100 equipped at the wardrobe — not in your pocket (11:04 reference walkthrough).
- Open your quest log and confirm Raise Ambient Temperature to 100% is active. If it is greyed out, return to the train and re-read the cold objective.
- Follow structure markers outward from the entrance airlock. Warmers sit on walls and maintenance alcoves — interact with each prompt as you find it rather than sweeping randomly.
- Repair warmer #1 and watch the HUD jump to 17% — see the ambient readout screenshot below.
- Repeat for warmers #2–#5, checking the percentage after each repair: 34 → 61 → 78 → 100%.
- Do not leave early at 78%. The fifth unit is mandatory; partial heat does not advance New Coordinates follow-ups.
Where is the Foreman and what happens there?
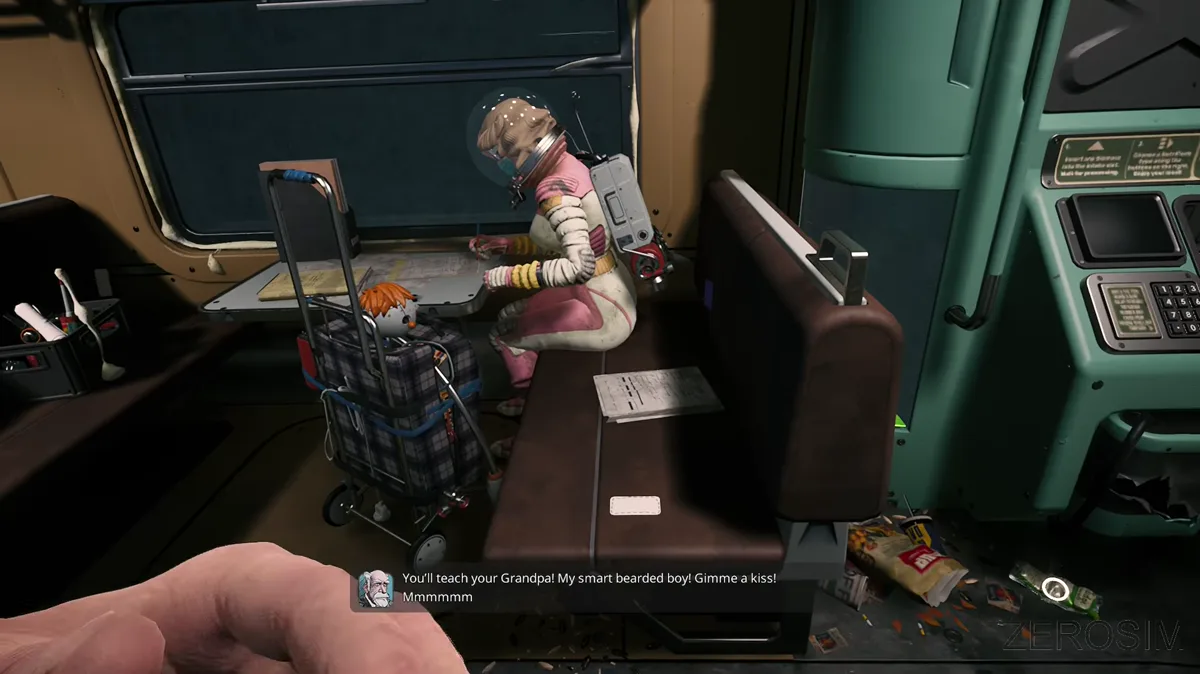
While heating the zone, the quest trail introduces a Foreman NPC in a deeper frozen section — identifiable in playthrough footage by a mustachioed supervisor figure near engine maintenance (~177:28 in source walkthrough).
Practical approach:
- Finish at least two warmers so your ambient meter is past 34% — the Foreman area sits beyond the first maintenance ring.
- Follow secondary objective markers when they appear; they often overlap warmer paths rather than sending you on a separate expedition.
- Talk through the Foreman dialogue — it gates engine-related lore and points toward the research terminal.
- Return to the warmer circuit if the temperature objective is still below 100%. Side threads do not substitute for warmer #5.
The Foreman sequence is flavor plus progression glue, not a substitute for the five warmers.
How do you use the Small Engine research terminal?
Near the Foreman thread, a Small Engine research node appears on a terminal-style interface — the same family of screen as scattered blueprint pickups elsewhere in Chapter 1.
Steps when you reach it:
- Interact with the terminal after Foreman dialogue completes (exact prerequisite order may vary by patch — re-read your quest log if the prompt is inactive).
- Spend scavenged resources the UI lists — community footage shows the Man feeding spare Metal and Electronics from Outskirts stockpiles; exact quantities need confirmation on a later EA build.
- Collect the research output into your blueprint inventory. It ties forward to train mobility threads mentioned in the Chapter 1 walkthrough.
- Resume warmer repairs if ambient temperature is still below 100%.
What should you do after the Depot hits 100%?
| Next step | Why |
|---|---|
| Return to the train | Restock food, water, and oxygen at the upgrades stations |
| Craft or repair tools at the Workbench | Depot debris fields reward Cut and Break verbs — see crafting recipes |
| Push the jammer trail | Coordinates beyond the Depot are blocked until the signal jammer chain starts — signal jammer guide |
Related Articles
items
Breathedge 2 Metal: Where to Find It and What It Crafts
Metal in Breathedge 2 floats as big round chunks near the crashed train and Outskirts. Where to find it, how to harvest it, and every recipe that spends it.
items
Breathedge 2 Duct Tape: Where to Find Electrical Tape
Where to find Electrical Tape in Breathedge 2: duct-taped pipes on station hulls, the Cutter Tool harvest, and the Oxygen Station repair that needs 3 rolls.
items
Breathedge 2 Plastic: Where to Find Plastic Nodes
Plastic in Breathedge 2 hides as bubbly nodes glued to station hulls and as blocks on wire-run ends. What the nodes look like, the Break verb, and the box trap.
Was this helpful?
Thanks for the feedback!