Breathedge 2 Cold Protection: How to Reach 100 (Gear List)
Every Cold Protection source in Breathedge 2 Chapter 1: the 106-point suit build, where Foam and Cardboard come from, and why the objective will not update.
FAQ
Is Cold Protection 100 a hard gate in Breathedge 2 Chapter 1?
Does the Cold Protection suit build ever degrade?
Can I use heat or radiation gear to reach the cold threshold?
Cold is the first wall almost every new player hits. The Chapter 1 objective Raise Cold Protection to 100 stands between you and the frozen DEPOT area, and the game never tells you where the number comes from or which slot it reads. This page lists every protection source confirmed on the Early Access launch build, the exact set that clears the threshold, and the trap that makes players think the quest is broken.
Where do you change your suit’s Cold Protection?
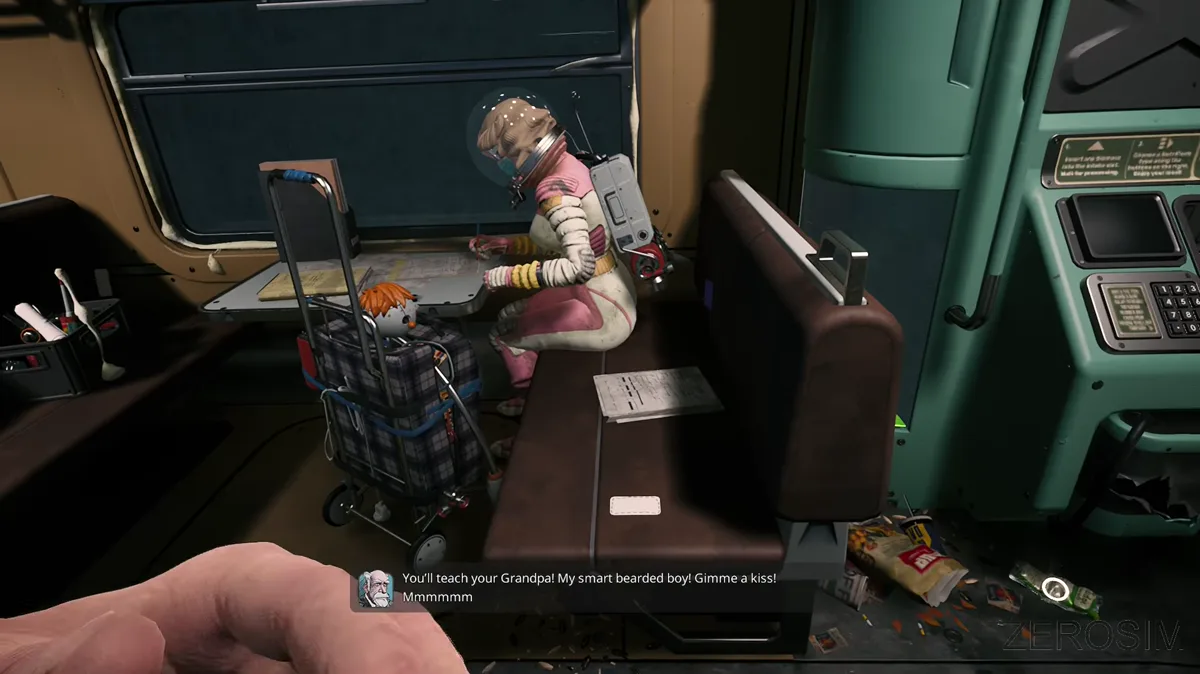
Not in a crafting menu. Suit protection is handled at the Space Suit wardrobe on the train — the same carriage that anchors the Chapter 1 walkthrough. The wardrobe exposes three suit groups — torso, arms (left and right), legs (left and right) — and you slot Protective items directly into them.
That distinction matters for the objective: the quest reads the suit’s assembled Cold Protection value, not what is lying in your inventory. If you craft or pick up a protection piece and the counter does not move, open the wardrobe and confirm it is actually fitted.
Which items reach 100 Cold Protection in Breathedge 2?
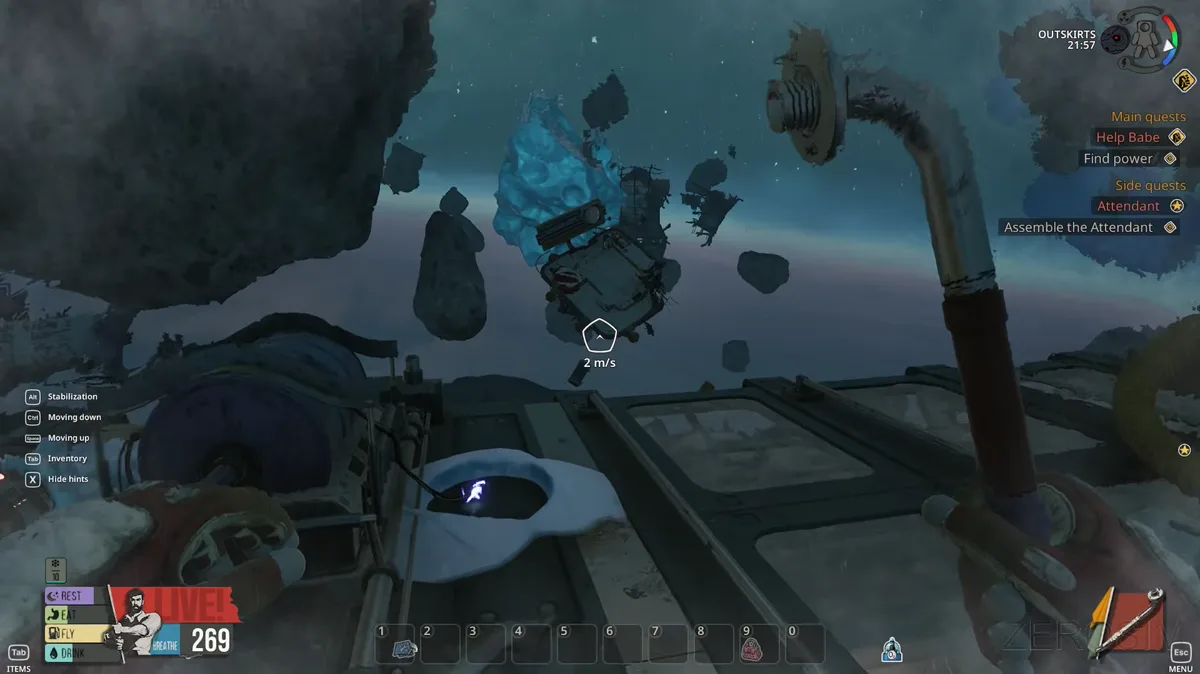
The build below is a single player’s measured Chapter 1 set from the launch build, totalling 106 — six points of headroom over the requirement.
| Suit slot | Item | Cold Protection | Where it comes from |
|---|---|---|---|
| Torso | Knitted Teddy Bear | +34 | Salvaged; exact spawn points still unverified (see note below) |
| Left arm | Foam | +22 | Cut from the yellow insulation lining on station structures |
| Right arm | Foam | +22 | Same — you need two separate Foam harvests |
| Left leg | Cardboard | +14 | Early-game scavenging, available before the cold push |
| Right leg | Cardboard | +14 | Same — two pieces required |
| Total | 106 |
Unverified — need a second source: the Knitted Teddy Bear’s origin. The tester who published the 106 build listed its +34 bonus but not where it came from, and no other source has confirmed a location or a recipe. Until that is settled, treat any site handing you coordinates for it as guesswork.
Where do you find Foam for arm protection?
Foam is one of the confirmed Early Access material names, and it hangs off the station itself rather than spawning as a floating pickup: it is the yellow insulation layer on station walls and structures. You harvest it with the correct tool via the Cut interaction — the scavenging system runs on explicit verbs (Break, Cut, Unscrew, Pull, Drill), and using the wrong one on the same object yields nothing useful.
Practical consequences people trip over:
- Two Foam pieces are needed for a full arm set, so one harvest run is not enough.
- Insulation is part of the station’s structure rather than a floating pickup — take what you need while you are in the area, and note that no respawn behaviour has been verified for it yet.
- Cutting consumes tool-module durability. See the materials where to find hub for which verb each resource type wants.
Where do you find Cardboard for leg protection?
Cardboard is the cheap half of the build: the cold-protection tester lists it as available early, and it is the piece you are most likely to already be carrying by the time the objective fires. Cardboard is also on the confirmed material list for the launch build, alongside Foam, Plastic, Rubber, Ice and the metal tiers — the full name set is in the materials hub. Whether it needs a specific tool or verb has not been documented, so loot it wherever it drops rather than farming for it.
Does a matching set give a bonus?
Yes. The developers confirmed that a full matching set of protective pieces applies a set bonus on top of the individual slot values, and that protective pieces are drawn from the same module pool used for world repair — the seven DIY module categories are Sharp, Impact, Utility, Protective, Active, Capacity and Biological, and the same module type competes between gear and repairs. This is the real cost of the 100 threshold: every Foam you staple to your arms is Foam you cannot spend elsewhere.
For the broader slot-by-slot logic, the suit upgrade order guide covers which protections to build first; the cold set is the one Chapter 1 forces your hand on.
Will my Cold Protection gear wear out?
Assume yes. Official durability rules bind an item’s wear to the DIY modules installed in it: base tools are described as intact and eternal, but the modules on them do break, and broken modules can be partly recovered as raw materials. Undamaged modules can be moved between tools but cannot be duplicated. Armor follows the same consumable logic — it degrades and has to be replaced, which means a 106 set is a snapshot, not a permanent stat.
That makes spare Foam and Cardboard worth banking before you commit to the frozen zone, alongside the oxygen planning in the oxygen locations guide.
What should you do before pushing the cold gate?
| Step | Why it saves the run |
|---|---|
| Repair the Public Oxygen Station in the Outskirts | Gives you a refill point outside the train; needs 3 Metal, 2 Electronics, 1 Wire, 3 Electrical Tape |
| Craft the Backpack | 4 Titanium for carry 110 to 185 — enough to haul two Foam and two Cardboard in one trip |
| Stock Purified Oxygen | 2 Oxyworm + 1 Metal + 1 Ice per unit, restores 120 oxygen on use |
| Keep Ice, do not refine it all into water | Ice feeds both drinking water and the oxygen terminals, and is the ingredient most players burn too early |
| Set a cold-rated suit, then re-read the objective | The wardrobe is the only place the value is assembled |
Blueprints behind these crafts are scattered rather than handed to you — the launch design deliberately removed hand-holding markers, so the blueprint location list is the fastest way to know what you are still missing.
What happens after you hit 100?
The gate opens the DEPOT section of Chapter 1: a frozen area whose own objective is to raise ambient temperature to 100% by repairing Service Warmers in sequence, with measured progress stepping 17, 34, 61, 78, 100% as each unit comes online. The route, the Foreman and the Small Engine research node are covered in the Chapter 1 walkthrough, and the wider area layout sits in the map and locations index.
Related Articles
items
Breathedge 2 Metal: Where to Find It and What It Crafts
Metal in Breathedge 2 floats as big round chunks near the crashed train and Outskirts. Where to find it, how to harvest it, and every recipe that spends it.
items
Breathedge 2 Duct Tape: Where to Find Electrical Tape
Where to find Electrical Tape in Breathedge 2: duct-taped pipes on station hulls, the Cutter Tool harvest, and the Oxygen Station repair that needs 3 rolls.
items
Breathedge 2 Plastic: Where to Find Plastic Nodes
Plastic in Breathedge 2 hides as bubbly nodes glued to station hulls and as blocks on wire-run ends. What the nodes look like, the Break verb, and the box trap.
Was this helpful?
Thanks for the feedback!